|
  

Cockpit Floors and Covers
Running Total Hours:
0.0
 | 2006.01.28:
(6.0) Rather than riveting the
baggage floors in place, I decided to make them removable. This
will give me relatively easy access for inspection and maintenance,
and will allow me to install equipment underneath, such as a strobe
power supply or autopilot controller. While this is a fairly
common modification among RV builders, there are different
possibilities of how to do it. Since I do consider the baggage
floors "structural", (they box in that part of the fuselage,
and therefore add rigidity), my philosophy was to make my modification
no less strong than the original. While this is certainly
overkill, I decided to replace each rivet with an 8-32 screw.
Now I'll get to work. Lots of nut plates to install. |
| 2006.01.29:
(4.0) Working on the right side
baggage floor. Installing nut plates... |
| 2006.02.03:
(3.0) When I drilled out and
removed the left side baggage floor I found a surprise. A large
countersink bit in one of the bays, left behind apparently by the QB
factory in the Philippines. That validates my idea of checking
EVERYTHING. The only other area I haven't checked thus far is
the attachment structure between the fuel tanks to the wing spars,
which would require removing the tanks. I'm now reconsidering
... maybe that would be a worthwhile exercise. |
| 2006.02.04:
(1.0) Ran out of nut
plates. Time to call Van's. |
| 2006.02.15:
(0.0) Received my order from
Van's with more nut plates and a few other items. Note for next
time: although Van's is a little cheaper than Spruce for hardware,
they take a few days to ship an order. Also, UPS ground takes a
week from Van's, whereas it's next day from Spruce. |
| 2006.02.22:
(0.5) Finished pop-riveting on
the right side seat floor. |
| 2006.02.23:
(0.5) Finished pop-riveting on
the left side seat floor. |
| 2006.02.26:
(2.0) Installing nut plates for the left
baggage floor.... |
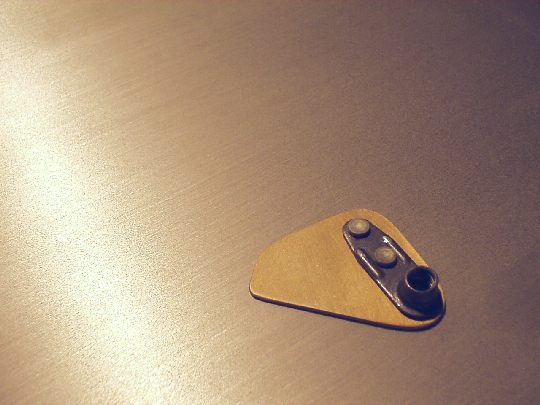
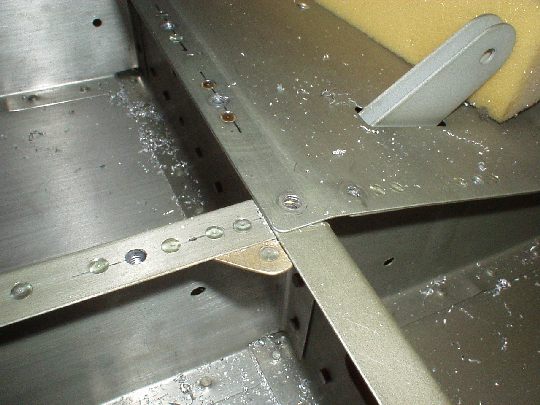
| 2006.03.04:
(3.0) Installing nut plates for the left
baggage floor, including two "custom made" nut plates for
the joint between the floor ribs and the bulkhead. (See
description of similar custom nut plate I made: Flaps Actuator
2006.03.04)
 |
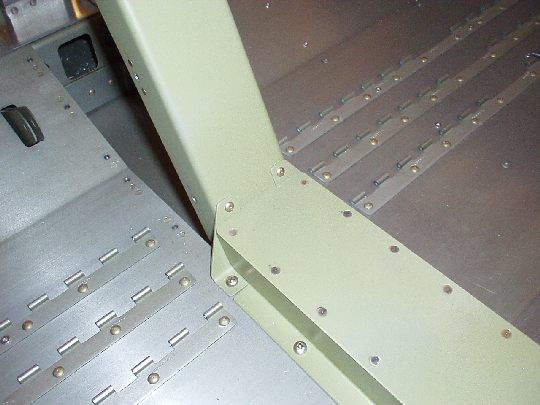
| 2006.03.18:
(1.5) Started fabricating the
Z-brackets for the tunnel cover. For the first attempt,
"measure twice cut once" wasn't enough. I measured
twice, very precisely, the same wrong measurement both times.
Fabricated another bracket, correct this time. But I need to
order more Z channel from Van's. I also found that the plate
Van's sent me was labeled with the correct dimensions, but in fact was
about 1/2" short. I'll just order another one too. |
| 2006.04.22:
(1.0) At the end of an AKZO spraying
session I had some left, so I edge-finished and sprayed AKZO on the
F-704K upright cap strips. |
| 2006.??.??:
(0.0) Fabricated the other Z bracket for
the tunnel cover. |
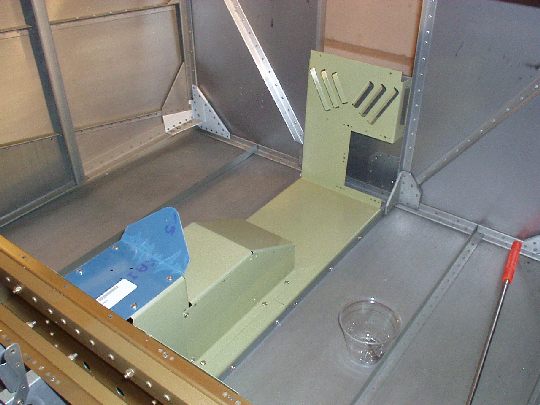
| 2006.05.20:
(3.0) Made the top plate for the control
rod tunnel cover. I found that the part Van's supplied was
slightly too small, and the stock design also left an unsightly gap
between the aft end of the tunnel cover and the framework for the
flaps. I fabricated my own plate from larger stock and also
added a tab at the aft end to make a nicer interface. Fitted and
drilled everything... |
| 2006.05.23:
(2.0) Since I'm planning on
a fuel-injected engine, I'll need a high-pressure (25 psi) auxiliary
fuel pump, rather than the standard low-pressure pump used for carbureted
engines. I'm using Van's kit "7/7A F.I. PUMP INSTAL"
(see section Fuel System). Unlike the standard low-pressure pump which mounts on the firewall,
the high-pressure pump mounts on the cockpit floor under the fuel
selector. This requires modifications to the structure in the
area of the fuel selector.
Started deburring parts... |
| 2006.05.24:
(2.0) More deburring... |
| 2006.05.26:
(2.5) Working on the
structure around the fuel selector and fuel pump: measuring, marking,
test fitting... no "real work". |
| 2006.05.31:
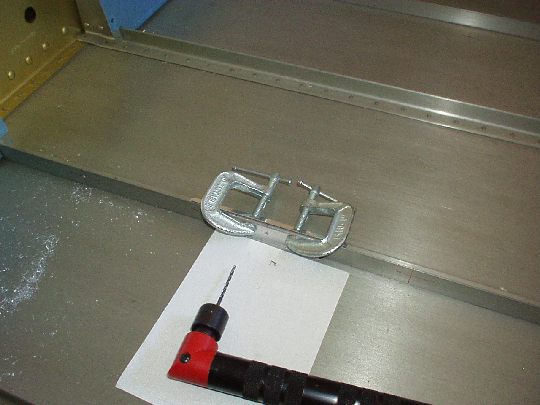
(2.0) Drilled #40 guide
holes in the floor stringers. Used a piece of angle as a drill
guide to set a hole height of 0.420". Then clamped in the
F-7115A fuel pump base plate (a.k.a. "bottom cover") and match-drilled it.
 |
| 2006.06.01:
(1.0) Started modifying the
F-782C bottom cover for the high-pressure pump installation.
Shortened it to clear the F-7115A. |
| 2006.06.02:
(1.0) Continued modifying the F-782C
bottom cover for the high-pressure pump installation. Made the cutout
on the aft end. |
| 2006.06.03:
(5.0) Clamped the F-782C bottom cover to
the floor stringers and match-drilled.
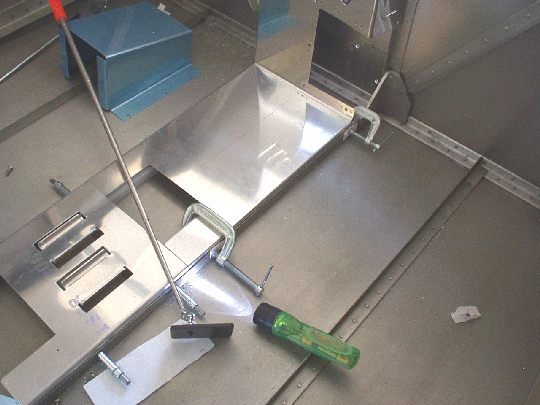
Fitted and drilled the
fuel pump cover assembly.
 |
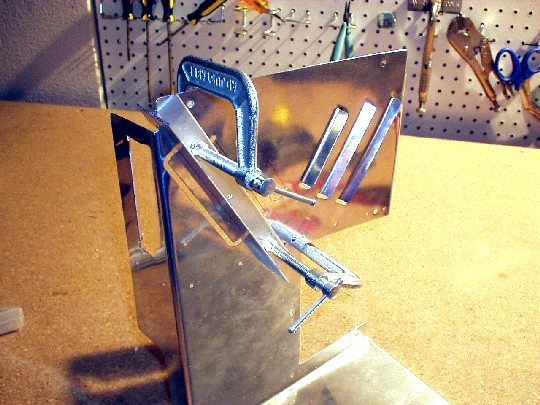
| 2006.06.04:
(3.0) Prepped, modified, fitted, and
drilled the fuel selector cover. |
| 2006.06.06:
(2.5) Prepped the cabin heat baffle and
match-drilled the to the F-782C bottom cover. Bent out the louvers
on the bottom cover. |
| 2006.06.xx:
(6.0) [this entry covers several days]
Finished deburring everything, including the cabin heat louvers which
were a royal PITA.
 |
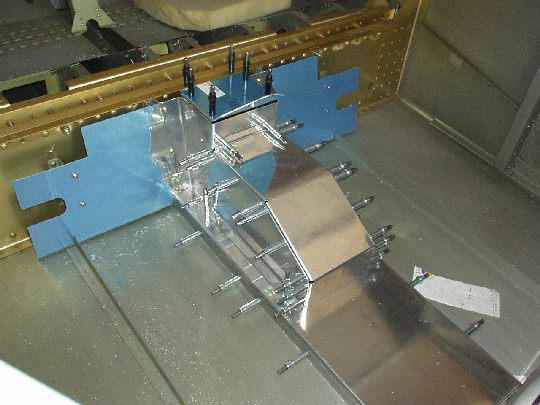
| 2006.06.18:
(3.0) Finished fitting all the cover
pieces. Started drilling and countersinking for nut
plates. |
| 2006.06.24:
(2.5) Finished countersinking, and tied
up a few other loose ends on the fwd center covers. |
| 2006.06.30:
(2.5) Prepped all the front covers for
primer. |
| 2006.07.01:
(2.0) Sprayed AKZO primer on the front
covers. |
|
|