|
  

Receiving the QuickBuild Kit
Start: 2005.04.14, Completion:
in progress, Hours:
We'll say approx 48 in transportation, 18 back in the shop.
 | Background:
Rather than have the kit crated and freighted down to San Diego, I
elected to pick it up at Van's and drive it down myself in a U-Haul
truck. While less common, this IS one of the Van's preferred
methods of kit delivery and they claim hundreds have been delivered
this way. After speaking with a few builders who have chosen
this route, I gained confidence that this is a good way to go.
Saving money is NOT one of the reasons for doing so. In fact,
this may be the more expensive of the two options overall, especially
when you factor in missing two days of work. Also contrary to
popular notion, I chose this option because for me it was logistically
easier. The key difference being that with the U-Haul option,
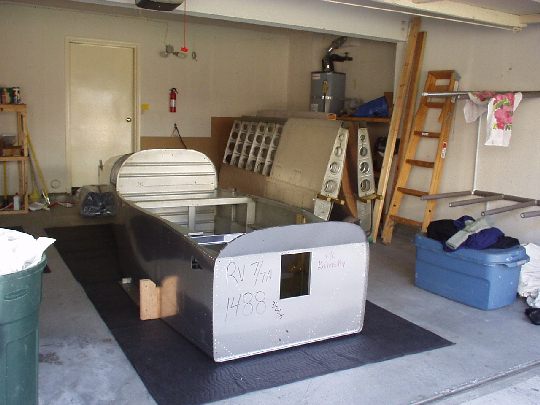
crating is not necessary. Arriving home, it's easy for two or
three guys to unload everything in a couple of hours. The
biggest/heaviest single item is the fuselage, which is about 16 ft
long and about 200 lbs. No problem. Compare that to a 19 x
5 x 5 ft fuselage crate weighing 900 lbs. Getting that crate off
a truck -- parked along my sloping narrow driveway -- and maneuvering
it into my 2-car garage would be an interesting endeavor, with or
without a forklift.
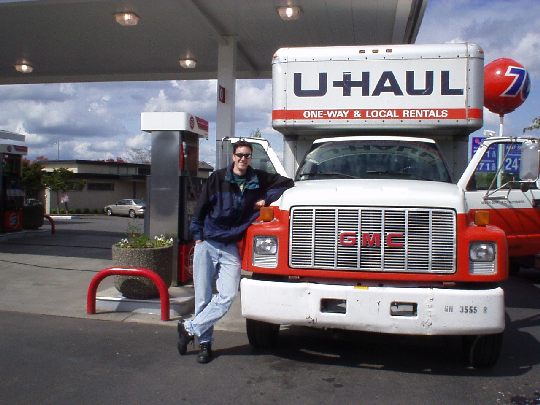
About the truck: Per Van's, the necessary equipment is a U-Haul 24' or
26' truck. Both flavors of truck do have wheel wells that protrude
into the cargo area, but this is not a problem with an un-crated
kit. The fuselage fits between the wheel wells, and the wings
fit forward of the wheel wells. U-Haul no longer distinguishes
between the 24' and 26' trucks as far as reservations go. You
get whichever is available, and apparently there are far fewer of the
26' trucks around. Still, it's worth requesting the 26' truck if
available, as it supposedly gets significantly better gas
mileage. Gas, by the way, was the largest expenditure of this
trip (not counting the kit itself of course), coming in at $415.
Also needed are 30 or so furniture pads which can be rented from
U-Haul for $10/dozen, and 50' of nylon rope which can be purchased
from U-Haul for $2.99. I also bought a padlock for the
truck. That's it. |
| 2005.04.14: |
| 06:20 My friends
Vay and Chris arrived at my house. The trek to Van's begins with
a ride to the airport -- thanks Vay! |
| 07:40 Southwest
flight 544 departed San Diego, California bound for Portland,
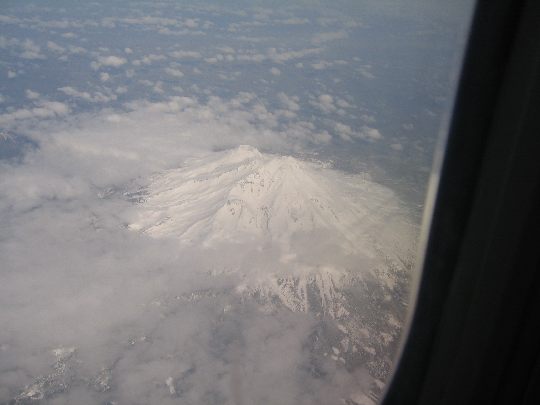
Oregon. During the flight, Chris took some very nice pictures of
Mt. Shasta, while I caught up on some sleep.
 |
| 11:00 We arrived
in Portland more or less on time. Now the real race
begins. I was told by Van's that to load up the kit I have to
arrive at their facility no later than 13:00, as the loading crew
leaves around 14:30. So off we go. After a short taxi ride
we arrived at Fort Knox Storage Center where our U-Haul truck should
be waiting. Upon arrival we were informed that the truck was
taken away for repairs and another one will be arriving from another
location around 14:00. Exploring our options, we decided to go
to the other location ourselves and pick up the other truck. |
| 12:00 After
another taxi ride we arrived at the second U-Haul location, where a
truck was indeed waiting. We promptly finished the paperwork and
hit the road. With a variety of sounds and smells, It became
immediately clear that this truck will give us a precarious journey. |
| 13:04 We arrived
at Van's Aircraft on the eastern end of the Aurora Airport.
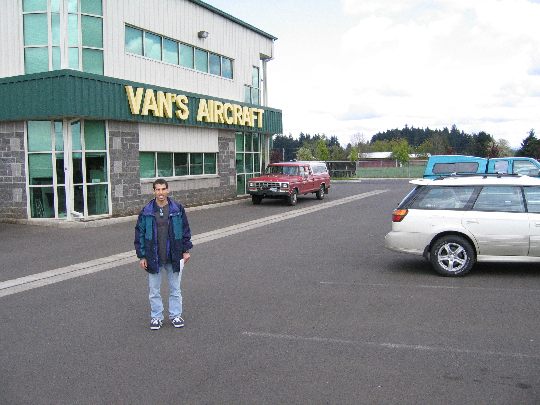
Barbara greeted us at the lobby. We were a few minutes late but
still ok, just
in time. We promptly parked the truck in front of the hangar,
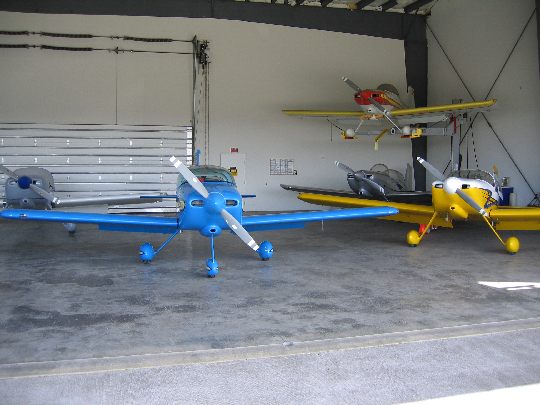
which contained a few of Van's demonstrator airplanes (the rest were
at Sun 'n Fun) and my shiny new QuickBuild kit.
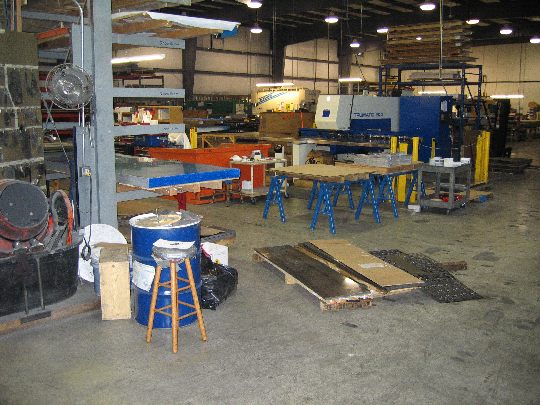
While the
shipping crew started loading up the truck, we got a factory tour with
Ken Scott. It was great seeing where RV's are born. There
was also a family there for the tour who were interested in building
an RV-10. Both RV-10's unfortunately were at Sun 'n Fun.
As promised, in just over an hour Van's shipping crew had everything
loaded and expertly secured in the truck. We were ready to go.
 |
| 16:00 After a
quick lunch nearby, we hit the highway. No need for a map --
interstate 5 for about 1100 miles down to San Diego.
For the
first few hundred miles the truck ran like crap and gulped fuel at
about 4 to 5 mpg. It sounded like it probably wasn't firing on
all cylinders and I had serious doubts that it would survive the
trip. But we pressed on.
Later at night it seemed to run better, and
the gas mileage also improved slightly. We theorized that the improvement
could have been attributed to 1. the colder night air alleviating an
overly rich mixture, 2. better (maybe less contaminated) fuel, 3.
cleaning out the engine by virtue of the freeway driving, or 4.
Chris's magical driving ability. We may never know. We
drove on through the beautiful scenery of Oregon and northern
California. Among the most impressive was another view, this
time moon-lit, of Mt. Shasta. Sorry, no photos. |
| 2005.04.15: |
| 00:00 We arrived
at a truck stop in Redding, California to get some food and gas (the
food was for us, the gas was for the truck). Our original plan
was to spend the night at my friend Annie's place in Davis, which was
approximately at the half way point of our drive. But from
Redding that was still about four hours away at our current
pace. I called Annie to let her know we probably wouldn't make
it. Back on the road again. Driving and sleeping in
shifts, we pushed on through the night. We passed through
Sacramento (Davis area) around 04:00 and kept on going. |
| 09:00 With
California's Central Valley now behind us, we made one last fuel stop
at the foot of the Grapevine. Climbing the Grapevine, the truck
did surprisingly well. We were soon on the other side, sitting
in the ever-present traffic jam of Los Angeles, breathing the foul
air. |
| 12:00 The roads were
clear on the
segment from Orange County down to San Diego, but
the truck was again sounding like it might just croak. But it didn't,
so I suppose we should consider ourselves lucky. |
| 13:30 We made
it. Parked the truck at my house and went to Rubio's for some
lunch. (Mmm...
tacos ... we had nothing but Cliff Bars for the last few hundred
miles).
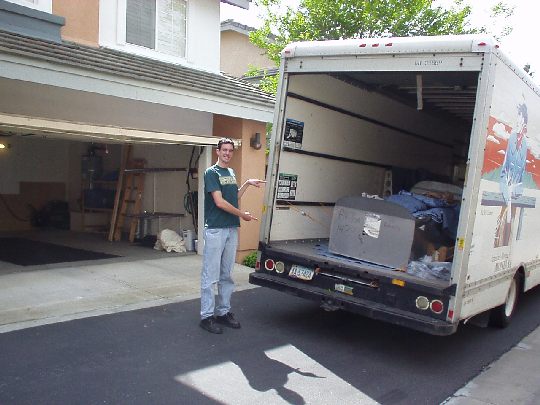 |
| 14:00 Chris and I
began to unload the truck, starting with all the miscellaneous parts
that have been stuffed into the cockpit area of the fuselage. A
short time later Vay came over, and the three of us easily maneuvered
the now empty fuselage off the truck and into the garage. We
unloaded some more parts that were sitting under the aft fuselage, and
now all that remained were the wings. As I didn't have the
wing cradle yet from Reuven and Larry, I decided to just leave the
wings in the truck. |
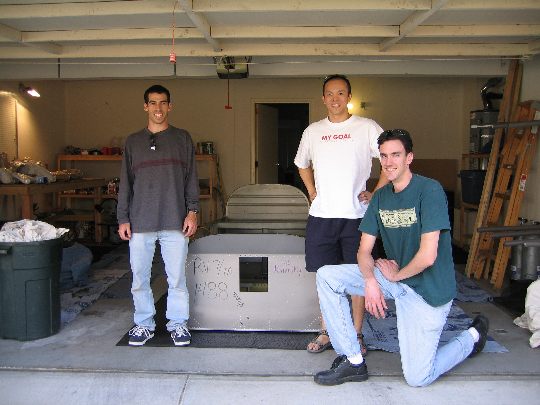
| 18
Not yet flying, but an exhausted RV grin times three! Thanks
guys for all the help!
 |
| 2005.04.16: |
| 09:00 Since we made it back to town earlier than expected, I was able to come over to
Reuven and Larry's hangar on Saturday and give them a hand with the final mounting
of their wings. In short order we had both wings on the airplane
with the close tolerance bolts through the center section and
spars. We then spent the rest of the morning and early afternoon
torqueing them down, which proved to be challenging due to
interference with the main gear weldments. Reuven and Larry
generously gave me their wing cradle, and I headed back to my own "hangar". |
| 19:00 Chris came
over and helped me unload the wings off the truck. The complete
QuickBuild kit is now home and waiting to be inventoried.
 |
| 2005.04.22:
(4.0) After
a busy week at work I finally got to start the process of inventorying
the kit. I put up some new shelving where the many
miscellaneous parts will be stored.
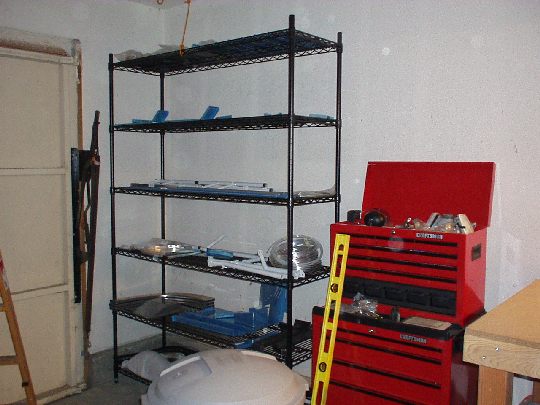
Making efficient use of space is always beneficial, but it becomes
crucial when your hangar is a townhouse. I still need to build
yet additional shelving where I'll store the control surfaces, wing
tips, etc. that are currently residing in what used to be my guest
bedroom.
 |
| 2005.04.30:
(4.0)
Finished inventorying the kit against the main packing list.
Found no discrepancies, but did find two parts that are defective and
will be returned to Van's. Also, I plan to return the fuel valve
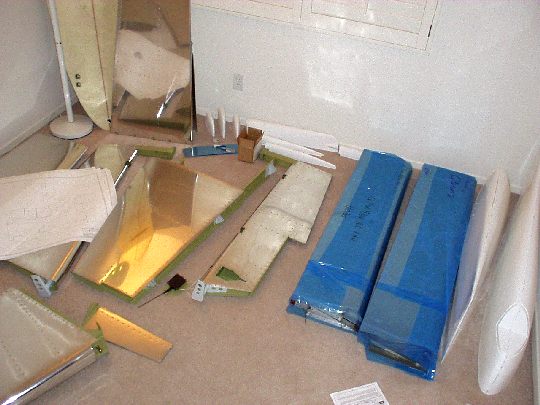
to Van's for credit, as I intend to use an Andair fuel valve. Inventory work still remaining with the contents of all
those little brown paper bags. |
| 2005.05.03:
(4.0) Got started inventorying and
sorting parts from the brown paper bags. Why Van's does it this
way is beyond me. Throw a bunch of different little parts into
the same bag, just so the builder will have to hand sort them
again... Anyway. I'm about half way done, and so far have
found two bags that contained the wrong size rivets. Glad I
checked before mixing them in with the bins of rivets I already have. |
| 2005.05.04:
(4.0) Finished inventorying and sorting
the parts from the brown paper bags. A few more minor
discrepancies. |
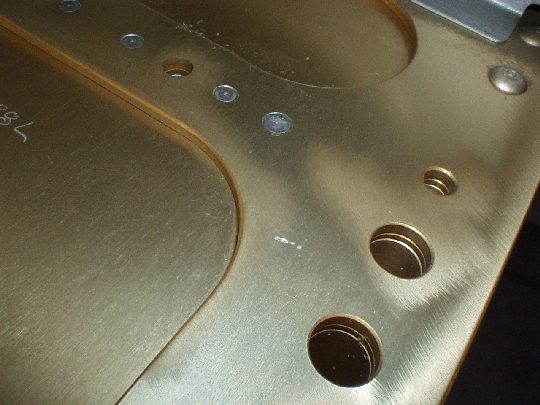
| 2005.05.04:
(2.0) Inventory complete. Called
Van's about the few inventory discrepancies and defective/damaged
items. Sent the return parts back to Van's via UPS. Also
talked with Scott Risan about two defects that I noted on the fuselage
and left wing. My inspection of the fuselage and wings is far
from complete at this point, but these are just things I noticed as
they're easily visible and in structurally important areas.
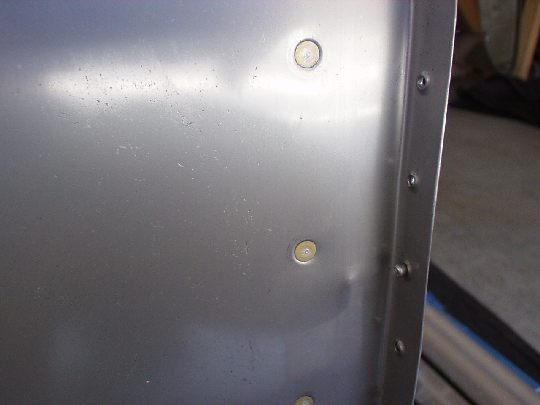
1. Firewall dent: The firewall is slightly indented out (i.e. forward)
at the union of the F-719-L forward skin stiffener, F-601B-L firewall
stiffener, and F-719B-L angle clip. This area is shown on DWG 23
detail B and C. I'm not certain whether the dent was caused by
tool (bucking bar or squeezer) damage, or whether the firewall was
force-fit onto a F-179B-L angle clip that's slightly misshaped or
misplaced. My concern is that if it's the latter there might be
added stresses on the region. Nothing to worry about according
to Scott Risan. Still, I'll give this area further attention
when I remove the pop rivets that are currently holding the forward
skin to the firewall. Currently it's impossible to get a good
view from the cockpit side, even with an inspection mirror.
2. Spar scratch: There's a small scratch on the aft side of the main
spar of the left wing at the root end. It has the appearance of
untreated aluminum, meaning it occurred after the spar was
anodized. Scott Risan advised that I smooth it down if I deem it
necessary, and then prime the area to protect from corrosion.
Will do. Also, notice what look like scuff marks nearby, but
that have been anodized over. I've heard countless other
builders fret over these, but apparently it's fine and normal
according to Van's, as Scott Risan confirmed. Another surprise
was that identification markings were engraved into the spar using a
vibrating pencil or other similar device. These also were
anodized over, and are no cause for concern according to Scott
R. Perhaps after too many words of caution, us RV builders have
become too phobic about any "scratch" in the aluminum.
Still, never hurts to ask, especially when it comes to wing spars.
Removed the forward seat floors and the plywood "wing spar"
stubs that were bolted into the fuselage center section for shipping.
Cleaned off the oily coating on the flaps and ailerons so they can
temporarily be stored in an upstairs bedroom and not ruin the carpet. |
| 2005.07.07:
(40.0) Spent the past two months
thoroughly inspecting the wings and fuse by going through the
"slow build" manual step by step and checking the
work. Overall, the quality of the work is satisfactory, but I
did find a few defects that will need to be corrected: |
|
|
